Ok for this tutorial you will need 2 things.
1. The image you want to turn to ‘code’.
2. A ‘code’ layer which you can download here.
Oh and Photoshop. :p
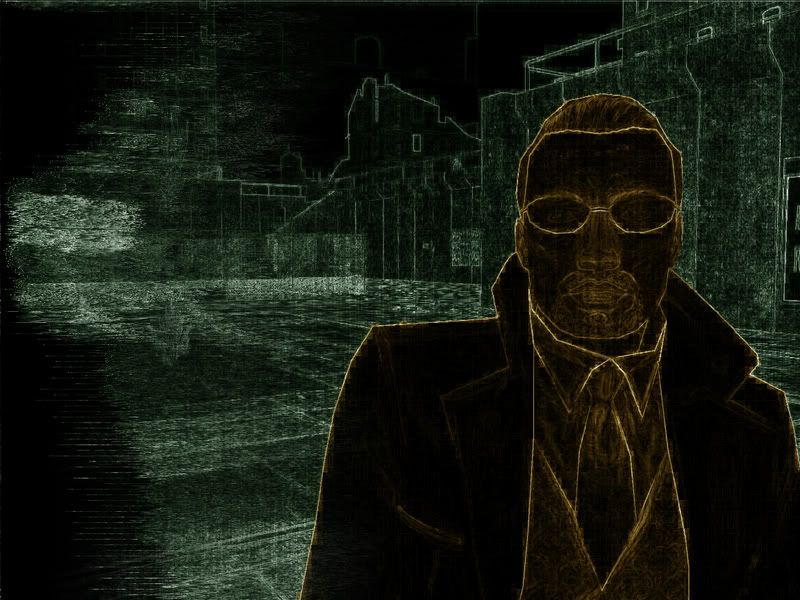
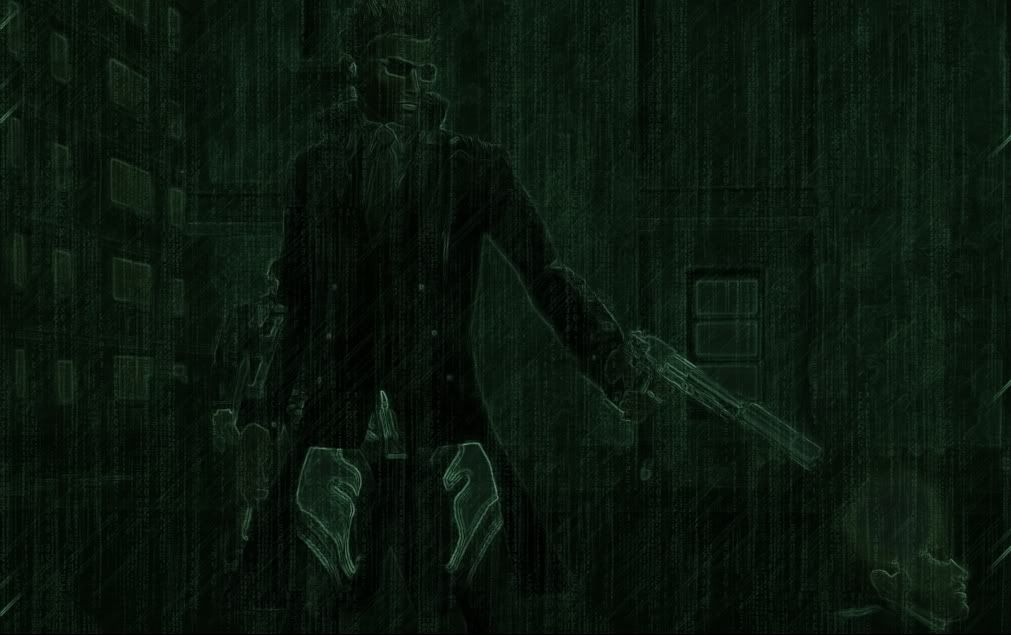
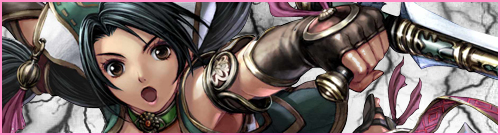
For the purposes of this tutorial I am going to be using this image to turn to code…
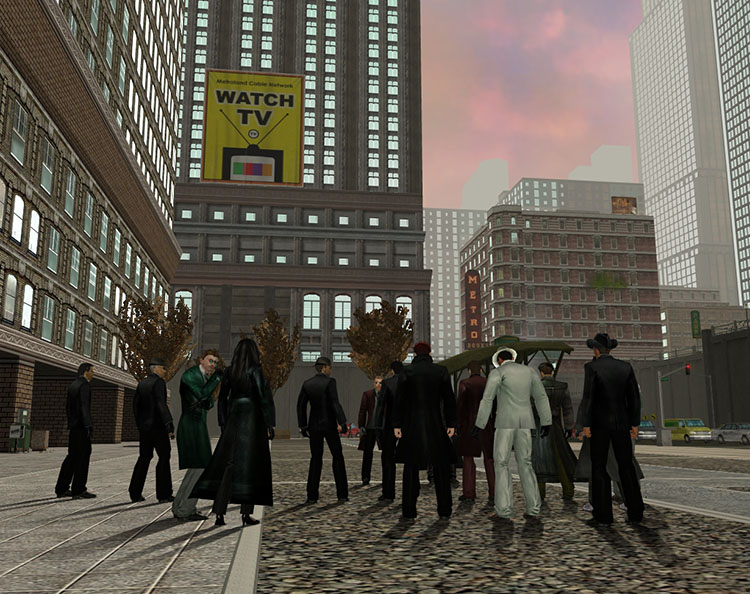
Ok, so open the image you want to turn into code and go to Image>Adjustments>Auto Contrast.
It’s always good to do this on a image 90% of the time as it improves it if it is to dark or to light.
Now duplicate your background layer by going to Layer> Duplicate Layer.
To make layers easier to track in this tutorial name the layer ‘Multiply’.
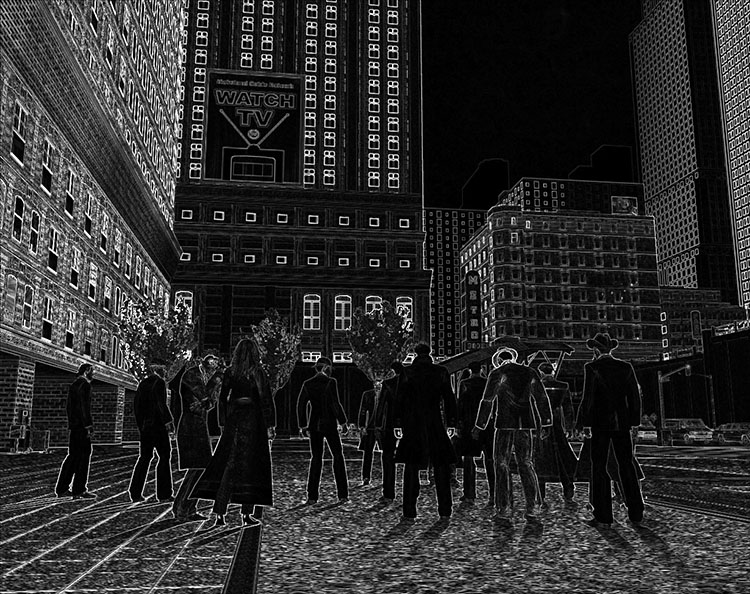
Now with the ‘Multiply’ layer selected go to Filter>Stylize>Glowing Edges.
These settings can be tinkered with but I tend to go with something like
Edge Width: 1
Edge Brightness: 5
Smoothness:1
Ok that and then go to Image>Adjustments>Desaturate.
Duplicate the ‘Multiply’ layer and call it ‘Screen’.
This is the point where we need to bring in that ‘code’ image that I created and copy and paste it into the image we are working on.
We need to place it below both the ‘Multiply’ layer and the ‘Screen’ layer.
Now we need to set each layer’s blending mode, set ‘Multiply’ to Multiply and ‘Screen’ to Screen.
Turn down the ‘Screen’ layer’s opacity to between 10%-40% depending on how dark the original image was, the darker the original image the higher the opacity.
With this step remember less is more, it’s good to re-check your opacity after you add a colour balance.
Now you can add colour to it, you can do this two ways I prefer to use Adjustment Layers so I’ll be telling you that way.
Make sure your top layer is selected and click this button in Photoshop and select ‘Colour Balance’.
You can get a variety of different results with different colour combinations but I tend to go with these seetings…
Midtones: Green +25 Cyan -25
Highlights: Green +75 Cyan -50
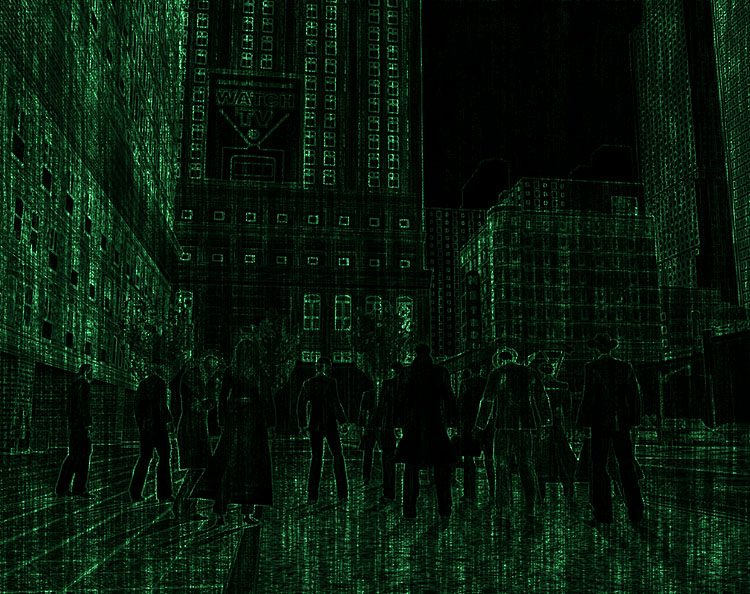
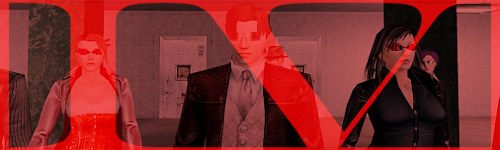
And you’re done!
Feel free to post your results in this thread.
1. The image you want to turn to ‘code’.
2. A ‘code’ layer which you can download here.
Oh and Photoshop. :p
For the purposes of this tutorial I am going to be using this image to turn to code…
Ok, so open the image you want to turn into code and go to Image>Adjustments>Auto Contrast.
It’s always good to do this on a image 90% of the time as it improves it if it is to dark or to light.
Now duplicate your background layer by going to Layer> Duplicate Layer.
To make layers easier to track in this tutorial name the layer ‘Multiply’.
Now with the ‘Multiply’ layer selected go to Filter>Stylize>Glowing Edges.
These settings can be tinkered with but I tend to go with something like
Edge Width: 1
Edge Brightness: 5
Smoothness:1
Ok that and then go to Image>Adjustments>Desaturate.
Duplicate the ‘Multiply’ layer and call it ‘Screen’.
This is the point where we need to bring in that ‘code’ image that I created and copy and paste it into the image we are working on.
We need to place it below both the ‘Multiply’ layer and the ‘Screen’ layer.
Now we need to set each layer’s blending mode, set ‘Multiply’ to Multiply and ‘Screen’ to Screen.
Turn down the ‘Screen’ layer’s opacity to between 10%-40% depending on how dark the original image was, the darker the original image the higher the opacity.
With this step remember less is more, it’s good to re-check your opacity after you add a colour balance.
Now you can add colour to it, you can do this two ways I prefer to use Adjustment Layers so I’ll be telling you that way.
Make sure your top layer is selected and click this
button in Photoshop and select ‘Colour Balance’.You can get a variety of different results with different colour combinations but I tend to go with these seetings…
Midtones: Green +25 Cyan -25
Highlights: Green +75 Cyan -50
And you’re done!
Feel free to post your results in this thread.
4 8 15 16 23 42

![Image</font>
</body>
<!-- Mirrored from forums.station.sony.com/mxo/user/signature.m?user_id=10997 by HTTrack Website Copier/3.x [XR&CO'2008], Sun, 21 Jun 2009 06:41:17 GMT -->
<!-- Added by HTTrack --><meta http-equiv=](/mirror/img149/7219/frostvpi8.png)