Ok, fairly simple.
1) open Adobe Photoshop!
2) make a new image 800x800
3) fill your new image with white, then press d.
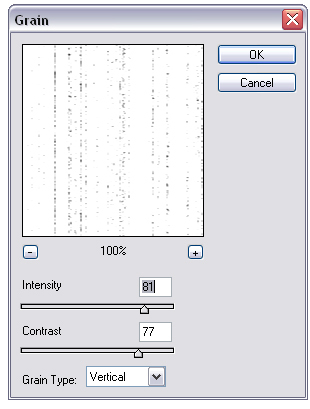
4) go to Filter > Texture > Grain and use these settings
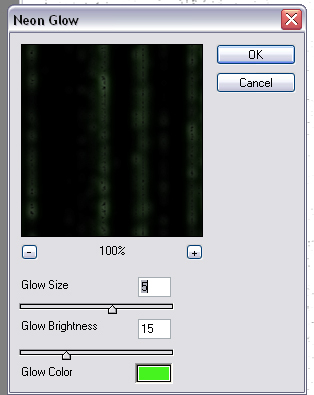
5) then go to filter > artistic > Neon Glow and use these settings
6) then use filter > stylize > glowing edges and use these settings

to go from this - (nothing)
to this -
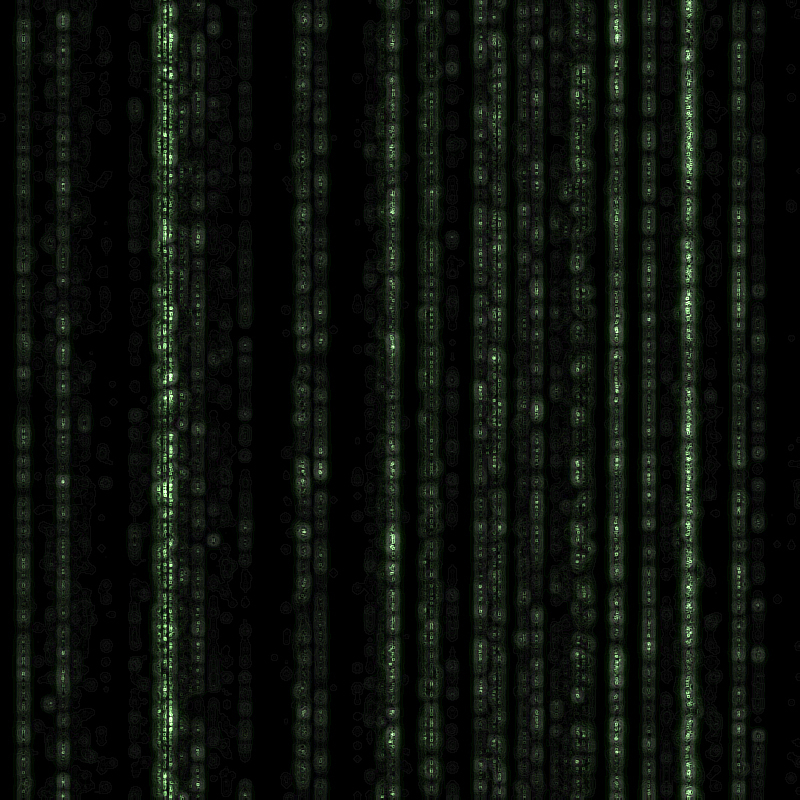
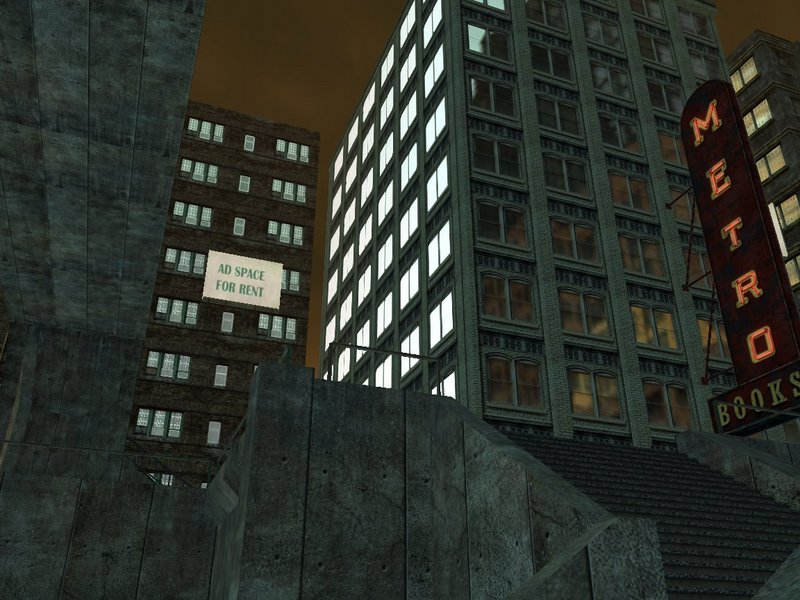
This gives you the basic code that you can add to an image of your choosing, I will add it to this image with it being under the bridge
7) you then move the code over onto the image, to the desired point and screen it, then rotate it so the code flows in the desired way, and then use the Image > Transform > perspective to get the code to the correct angle. afterwards, you should have something that looks like this.
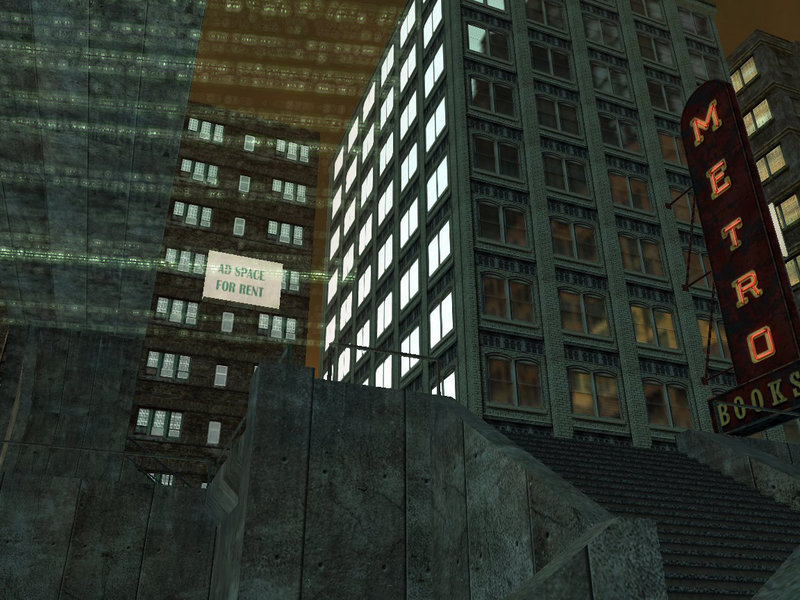
 you then delete away the rest of the code so it's left on the bridge
9) play around with the sliders in Enhance > adjust Brightness/Contrast > Brightness/Contrast so that the bridge light isn't different from the rest of the light anywhere else and then just cut out bits of the code to show in which direction it's flowing.
and thats about it, the best advice I can give people is not to follow these guidelines to the full but to experiment with them! otherwise you will always rely on tutorials.