Alright, you have always wanted to know how to make your sig look like an old photo? Here we go.
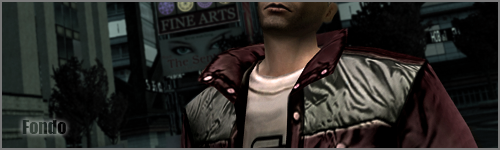
This is what I started with:

Step 1: Scale down your screenshot in PS so it fits nicely into the 500X150 pixel box.

Step 2: Make a copy of your main layer and cut out the RSI in it. Keeping you layers named helps.

Step 3: Now blur the Layer with the cut out RSI, I usually do around 5 pixels.

Step 4: It should look like this now. Not preatty yet, but wait.

Step 5: Blur the edges of your RSI on the main Layer. Also blur/smooth the skin tone changes with your blur tool on lighten and about 25% strength.

Step 6: This is where the magic begins to happen. Change the brightness of your Main layer to -15.

Step 7: Merge your basecoat layer and your blur layer. Should look something like this.

Step 8: Change the Hue/Saturation to Hue:0, Saturation:-100, and Lightnes: -1.

Step 9: Change the color balance to +5,0,-20. As seen in picture.

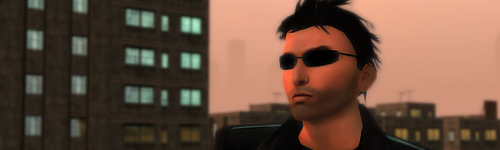
Step 10: Add a photofilter and use the preset Sepia. Should look something like this now.

Step 11: Add a Film Grain filter but put everything to 0 except put Intensity to 2. Looks like this. You could also add a little grain if you want.

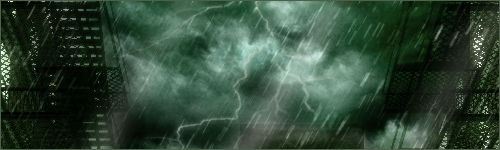
Step 12: Now add a border. This you can do however you like. I tend to use a color that is used by one of the shades in the sig itself.

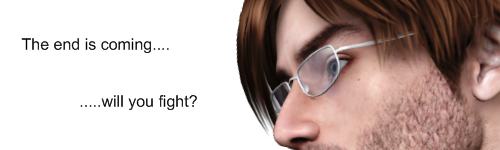
Step 13: Add your name... or not. I tend to use a color that appears in the sig.

Step 14: FINISHED, enjoy your finished product.

I hope this helped anyone at all. Well I'll see you guys later.